Showing posts with label Mark of Falworth. Show all posts

Thursday, March 28, 2013

Tribal Islander pieces review.

I was super-excited last week when I received some fantastic Brickwarriors tribal islander parts from Customminifigsyndicate.com!

These are, without a doubt, some of the coolest Brickwarriors pieces I've ever laid eyes on!

All the pieces laid out.

The detail of each part is incredible! The theme is totally unique.  

I quickly put together some figs to show off the pieces better. ;)

The chieftain with his headdress, shield, and deadly "hunga munga.

Tuesday, January 22, 2013

Brickfair Alabama 2013.

In October 2012, it was suggested by one of us in a comment thread that three pretty well known castle builders (Mark of Falworth, Legolord, and Tastymuffins.) could make a large collaborative LEGO castle display for a convention.

Since we are all located in the southeast we decided that Brickfair Alabama would be a great central destination.
So after chatting back and forth for a bit we pretty much knew what we wanted to create.

Tastymuffins built his section first,


Legolord had some unexpected things come up and unfortunately wasn't able to make it. (this year :) )

 I had just finished "building like a madman" for my CCCX Master builder attempt.
So, I somewhat reluctantly dove into my LEGO bins to hurriedly build something to sit beside TM's castle


I nearly didn't get it built in time, and I would not have made it if my brother Steven hadn't helped me finish it up. 
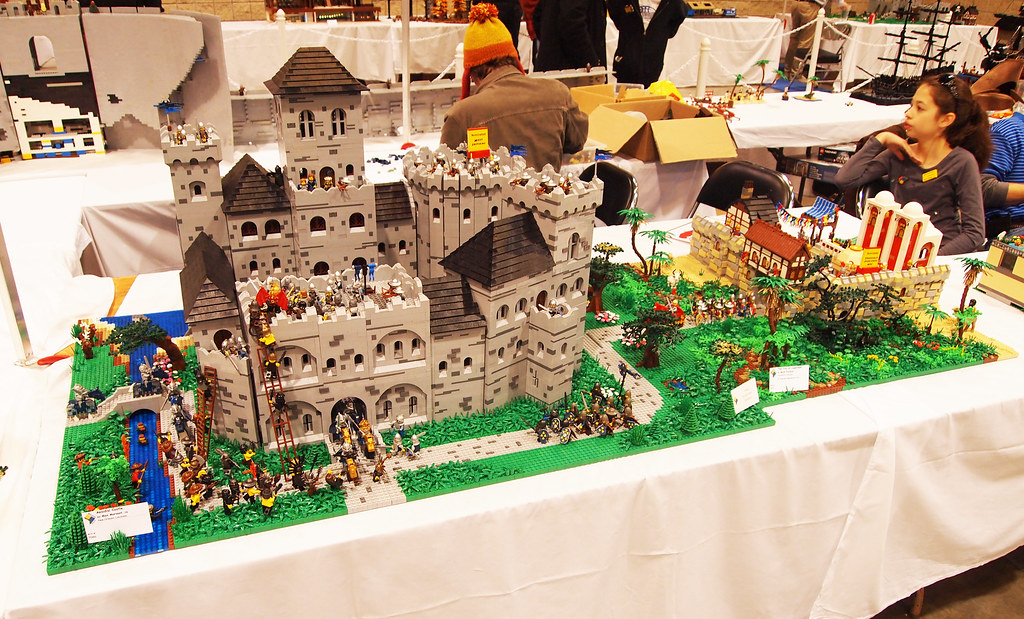
I'm pretty happy with the result, although, it would have looked better a few inches taller. ;)

So we packed it all up and drove to Birmingham!

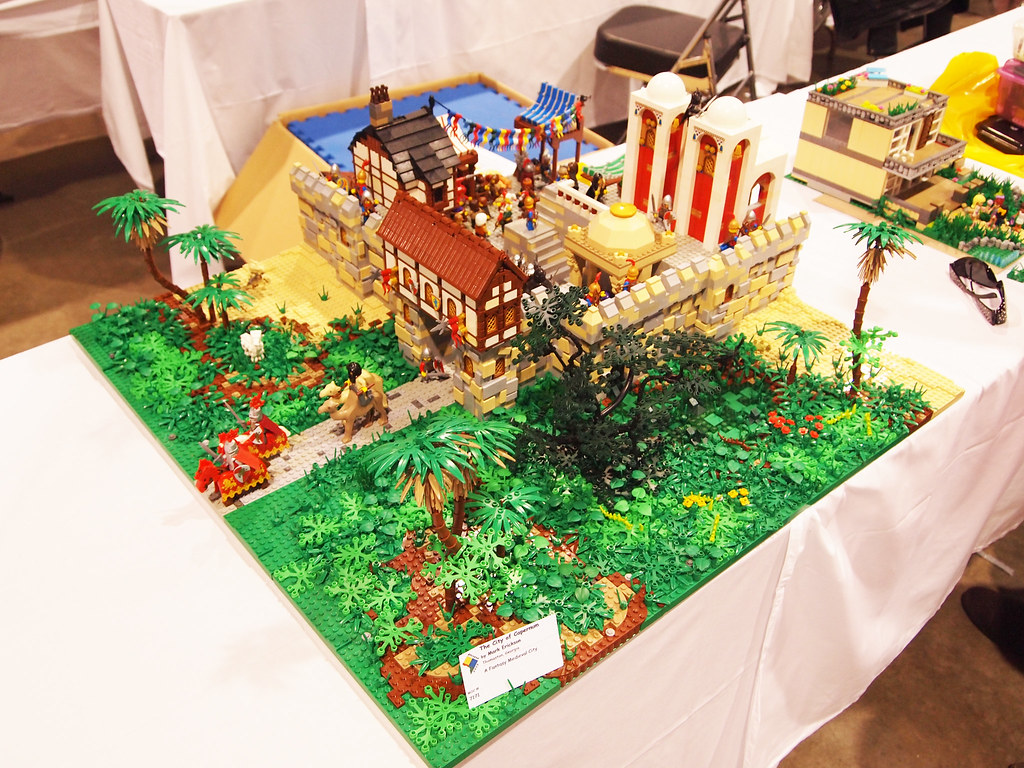
I managed to snag a few photos of the connected collab.


There was so much to do at Brickfair!
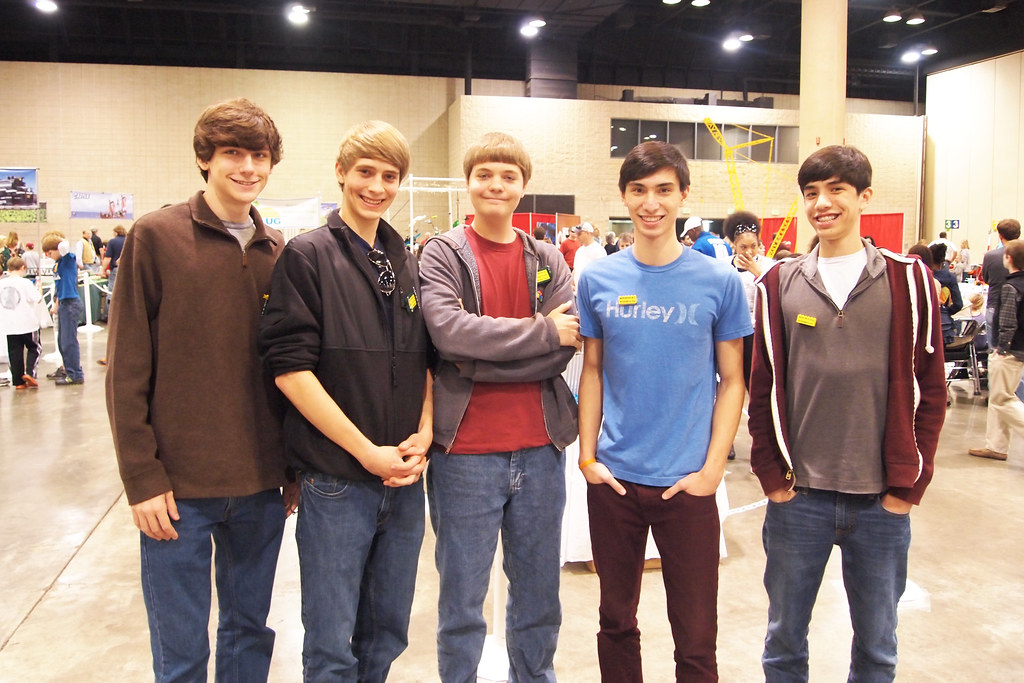
I met so many super nice people


I spent large amounts of money on LEGO minifigures and accessories. ;)

And I can safely say we all had a blast! 


I also made a video of some of the highlights of BFAL. be sure to check it out on Youtube
If you haven't been to a LEGO fan convention I would highly recommend you go to one!  

Thanks for viewing and have a great day! :)

~Mark

Thursday, December 13, 2012

Palm Tree tutorial.

This post will show you how to make the basic Palm tree.


Thankfully TLG has created many pieces for palm trees but there are still some tweaks that do wonders.


First, you need a stable platform for building.

Then I start building the trunk of the tree with the palm tree pieces

It doesn't have to be too tall. 


When I've reached a height I'm satisfied with I place a 1x1 round plate inside the last trunk piece. This ensures that the 4L bar doesn't slide down the trunk pieces. 


Yup. ;)


Okay, Next I add one 1x1 round brick on top of the 1x1 round while still inside the  trunk top piece, and inside of the 1x1 round brick I place a 4L bar (The type used for minifig ax shafts.)


Then I get my regular LEGO bush piece, (dark tan works best, although green looks okay too.) As you can see there is a hole in the center.  


And we just stick it on top of the whole tree trunk.


Then, I'll put a Technic half pin in the base of the bush.


This will provide a spot to put the Palm tree top piece.


Before I place the top piece, I add one dark tan palm leaf piece just below the main prongs of the top piece. 


Then, I'll attach it to the base of the bush, as shown. 


I usually add two dark tan leaves to the tree before adding green leaves.
(Yours doesn't have to bend quite so far down, just make sure it's well out of the way to leave room for the green ones.) 


Then, I will begin to add green palm leaf pieces. Be sure to add them so they form right angles, you can fit on more pieces that way.


Three pieces fit well.


but for the fourth one you will need to attach it at an upward angle.


I can fit one more leaf on the very top. It points almost straight up.


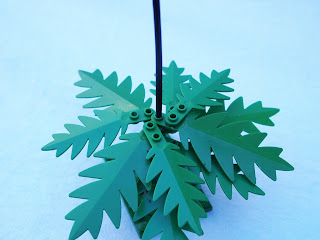
And you've done it! A very detailed palm tree. :)

This tree technique can be done in many different shapes or sizes, I've simply given you the basics with which you can make your own variations. 

Thanks for taking the time to look this! If you have any questions, feel free to leave a comment. In fact, comment if you like the tree. :)


Monday, November 26, 2012

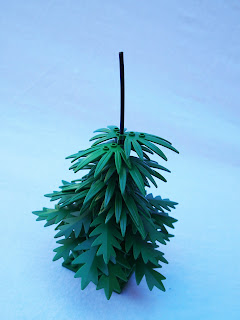
Falworth Fir Tree Tutorial

Okay, This post will show you how to make the "Falworth Fir Tree."  


To start, You will need a stable platform for building.


For the base of the tree I'm going to use a palm tree base and two palm tree trunk pieces.


Although two 2x2 round bricks will do the trick nicely, too. :)


For the "trunk" or main part of the tree I use a long "flex tube" or "rigid hose" (found here on bricklink).


Attach the rod to your base, as shown.


No we can start to add the branches of the tree, For the first layer I used a combo of one large palm leaf with one small palm leaf attached on top, as shown.


I slid it down the trunk of the tree to the very bottom, just above the base. 


Next I'm adding another palm leaf pair and placing it on the trunk as well, just slightly to the left.


Then, I'll add another pair, (Yes, you will need lots of pairs! ;)


And I'll keep adding until I've made a whole circle. 


And we want the tree to be nice and bushy so, we'll add a few more pairs... 


...Until you have about two layers on the base of the tree. 


Okay, next we'll create a new combo, this one is exactly like the first except both leaves are small. 


So I'll begin adding some of the new combos where we left off.


I added a whole layer of the smaller pairs.


All right! Next we'll one medium sized palm leaf on top of another one.


 then we'll attach it to the trunk.


...And add another one.


I stop doing the doubles at the third one.


From here I attach them one by one.


Try to keep them evenly spaced, so the tree doesn't have any gaps.  


More and more...


Continue to add palm leaves...


Heh heh.. 


I usually add leaves until I get six studs from the top. 


Then I'll add a 1x1 round brick on the inside, and a "bamboo" piece on the outside of the top of each palm leaf. (On the top of the tree.) 


I also add 1 "bamboo" piece on top of each 1x1 round.


Next I'll slide a 2x2 round plate down the trunk.

 Notice I've removed one bamboo piece from one of the branches to make a more level place for the 2x2 round plate.


Then I'll add a few bamboo pieces to the top and there you have it! :)


This tree technique can be done in any shape or size, I've simply given you the basics with which you can make your own variations. 

Thanks for taking the time to look at this! If you have any questions, feel free to leave a comment. In fact, leave a comment if you like the tree. :)