Wednesday, December 26, 2012

The final stretch of the CCCX!

Wow! It's been awhile since I last posted. I'll try to post more regularly. ;)

Well, we now have less then one week to go in the Colossal Castle Contest .
And I've seen some huge masterpieces show up in the castle category.


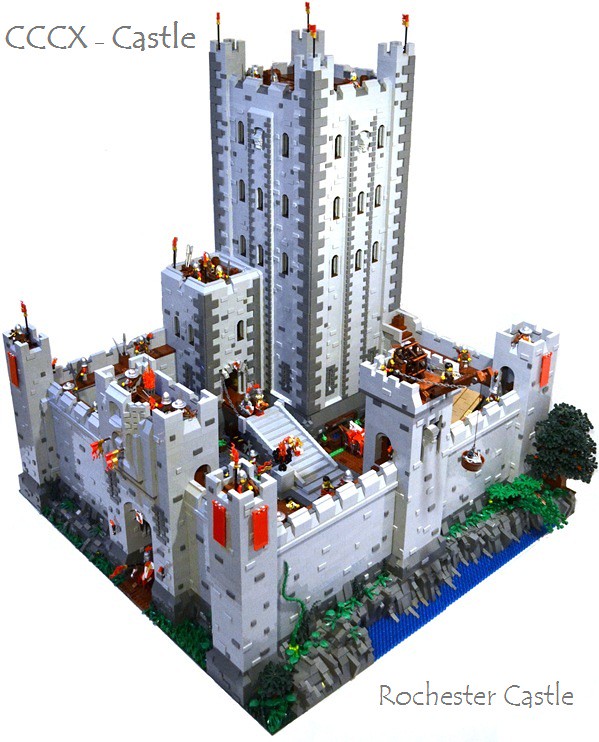
The first one, Rochester Castle made by David Frank (Fraslund on Flickr)
has some great textural detail, and being based on a real castle makes it that much cooler! :)


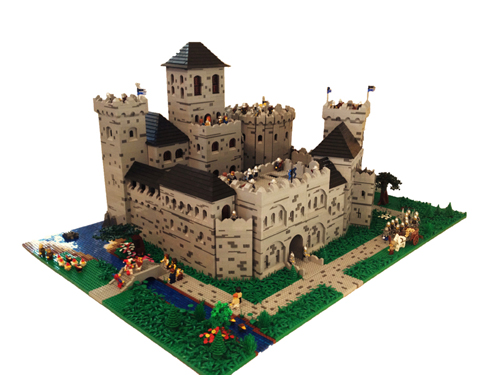
The next one, Aesidisi Castle, built by Tastymuffins.
Is probably the biggest castle entered so far. and the awesome angles and design make this another strong contender for the prize! :)


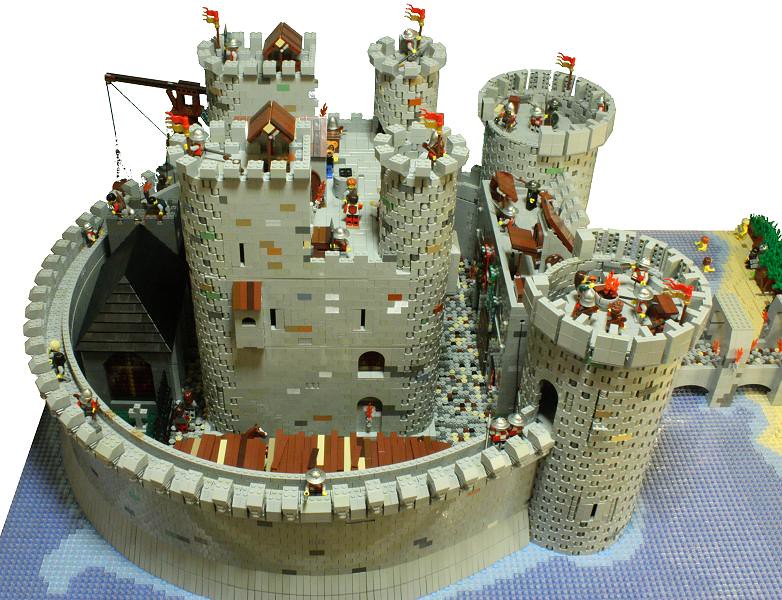
Last but not least is, Round Castle made by UKver2.0 

It is rightly named "Round Castle" the Huge circular shape is as fantastic as it is unique. and the overall attention to detail is something you won't want to miss! :)


Check out all the great entries to the CCCX Here.


Thursday, December 13, 2012

Palm Tree tutorial.

This post will show you how to make the basic Palm tree.


Thankfully TLG has created many pieces for palm trees but there are still some tweaks that do wonders.


First, you need a stable platform for building.

Then I start building the trunk of the tree with the palm tree pieces

It doesn't have to be too tall. 


When I've reached a height I'm satisfied with I place a 1x1 round plate inside the last trunk piece. This ensures that the 4L bar doesn't slide down the trunk pieces. 


Yup. ;)


Okay, Next I add one 1x1 round brick on top of the 1x1 round while still inside the  trunk top piece, and inside of the 1x1 round brick I place a 4L bar (The type used for minifig ax shafts.)


Then I get my regular LEGO bush piece, (dark tan works best, although green looks okay too.) As you can see there is a hole in the center.  


And we just stick it on top of the whole tree trunk.


Then, I'll put a Technic half pin in the base of the bush.


This will provide a spot to put the Palm tree top piece.


Before I place the top piece, I add one dark tan palm leaf piece just below the main prongs of the top piece. 


Then, I'll attach it to the base of the bush, as shown. 


I usually add two dark tan leaves to the tree before adding green leaves.
(Yours doesn't have to bend quite so far down, just make sure it's well out of the way to leave room for the green ones.) 


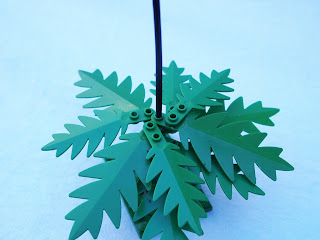
Then, I will begin to add green palm leaf pieces. Be sure to add them so they form right angles, you can fit on more pieces that way.


Three pieces fit well.


but for the fourth one you will need to attach it at an upward angle.


I can fit one more leaf on the very top. It points almost straight up.


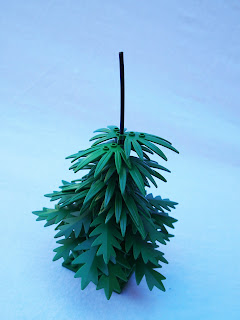
And you've done it! A very detailed palm tree. :)

This tree technique can be done in many different shapes or sizes, I've simply given you the basics with which you can make your own variations. 

Thanks for taking the time to look this! If you have any questions, feel free to leave a comment. In fact, comment if you like the tree. :)


Wednesday, December 12, 2012

The Warscape Continues

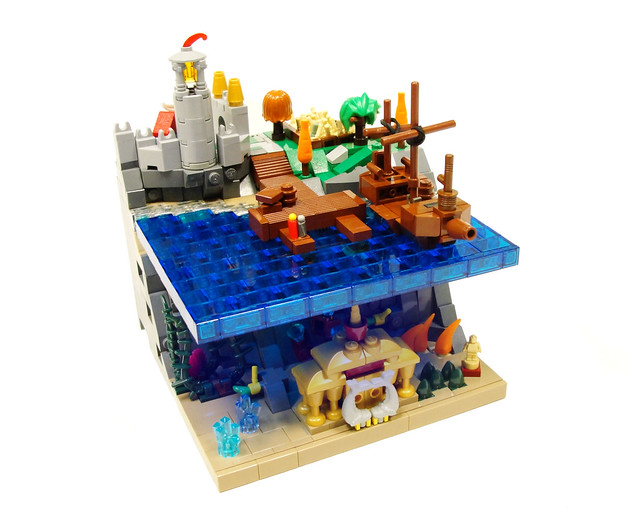
Blake Baer of Flickr has taken part in the Warscape Volumes that have been appearing on Flickr and he has done so magnificently!
I found the quality of this beautiful little micro-scale to be outstanding! The details, such as, the trees, the boat, the stairs, the water, and the undersea world, are all just so perfect. 
 

But it doesn't stop there! His second part is just as phenomenal! In this MOC, the action begins to kick in here as a giant black sea serpent creature flawlessly blended into the boat it's assaulting,as well as a dozen other awesome details.
 
Check them out on Flickr.

Thursday, December 6, 2012

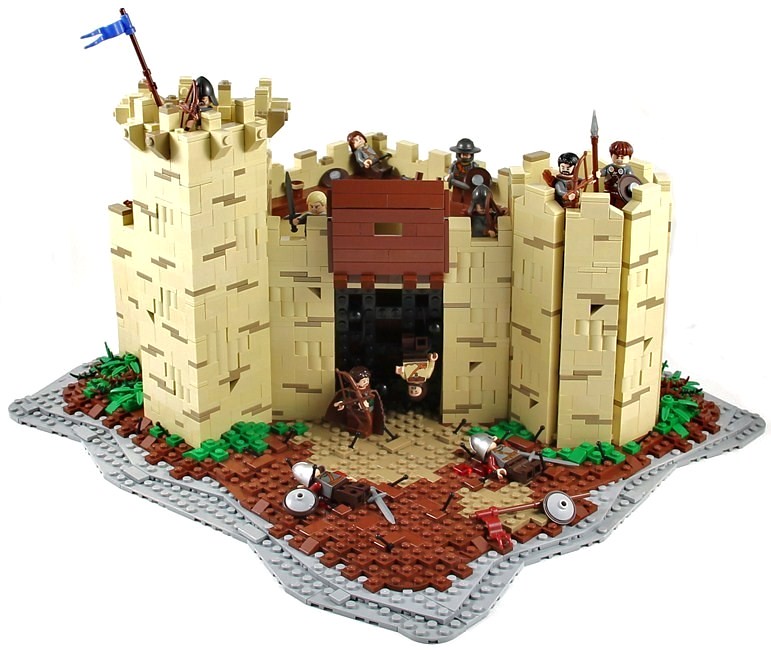
The Siege Of Châlus


This castle is just so awesome! I'm very partial to tan buildings and this one is no exception. I love how TheBrickAvenger places lever pieces about his scenes to make it look like arrows. Brilliant stuff. 

Check it out on Flickr.


Boxing Panda!


This Wonderful and Hilarious build by Tyler, (Legohaulic)
Really shows how much character and personality you can create with just a few simple pieces. :)

See it on Flickr.

Tuesday, December 4, 2012

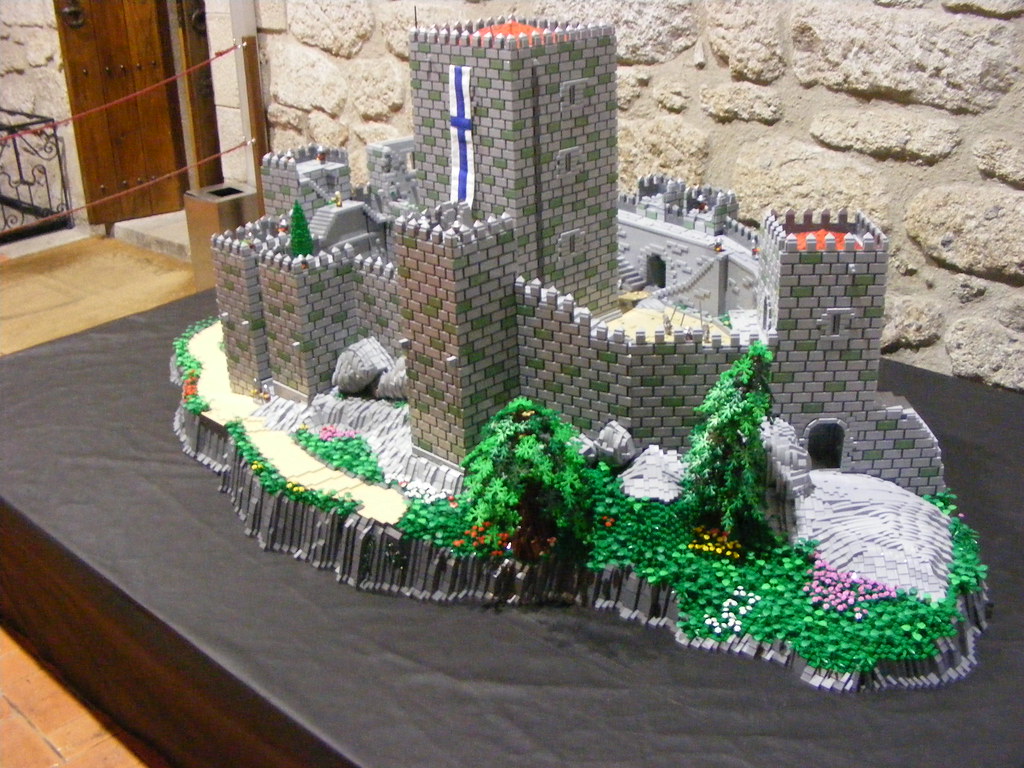
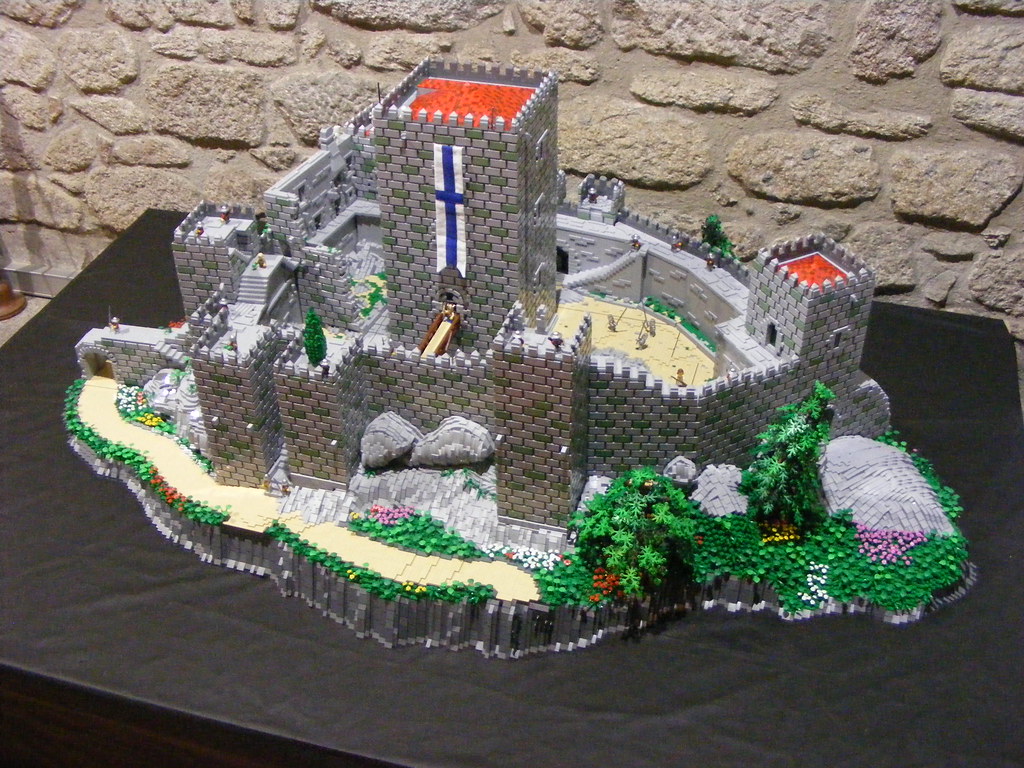
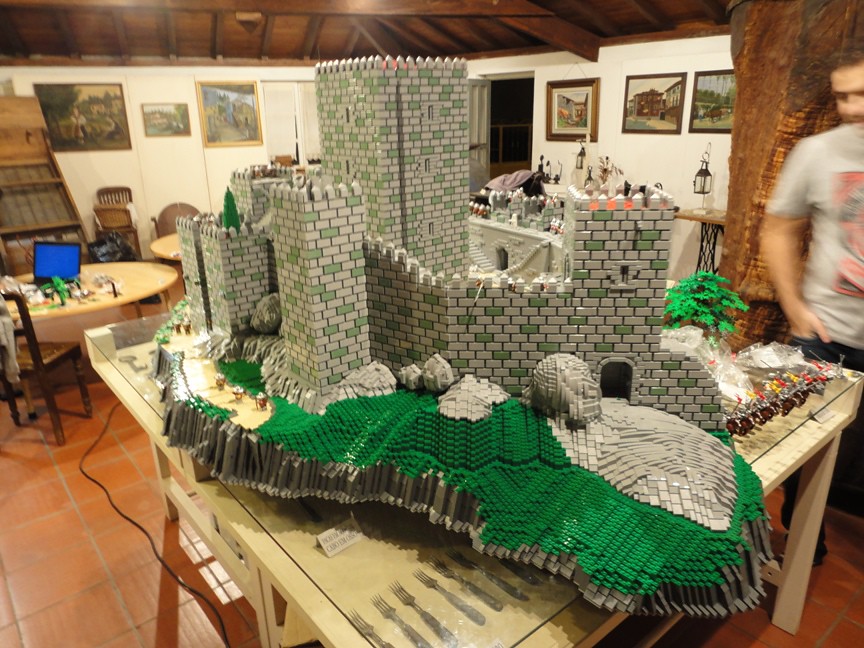
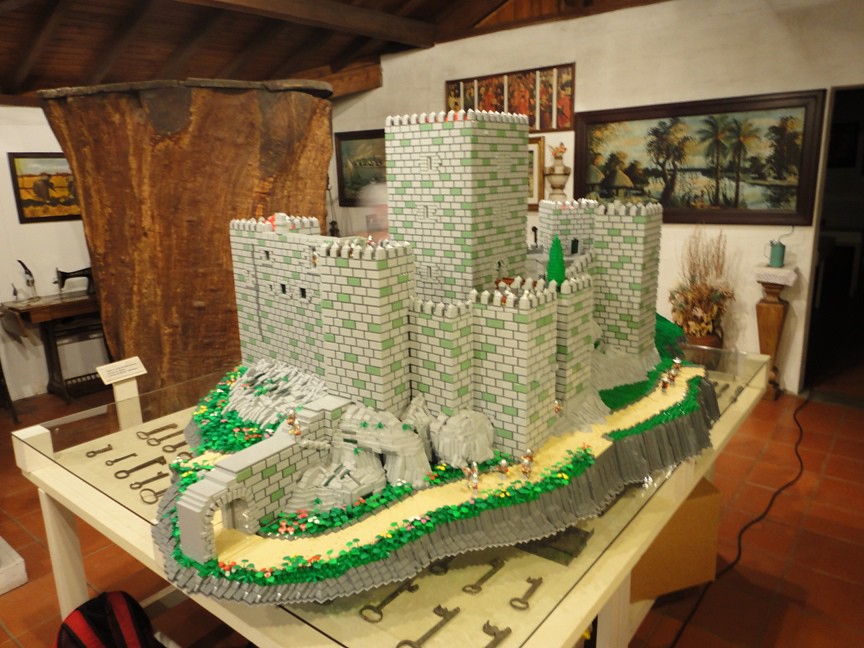
Castelo de Guimarães


This has got to be one of the best, (if not the best) Castles I have ever seen. 
Made by a group in Portugal, this is castle building at it's best! :) 


The castle itself is wonderful in it's detail and massive size, and the landscape is top notch as well.


Apparently 82.000 pieces went into this huge project.


Be sure to check it out on Flickr

Friday, November 30, 2012

V03 Shardstar

Chis (Ironsniper) is usually known for his awesome mechs, but I think he has some serious skills in the space ship department! :)

I love the shaping, and the detail is great as always. 

Check it out on Flickr.


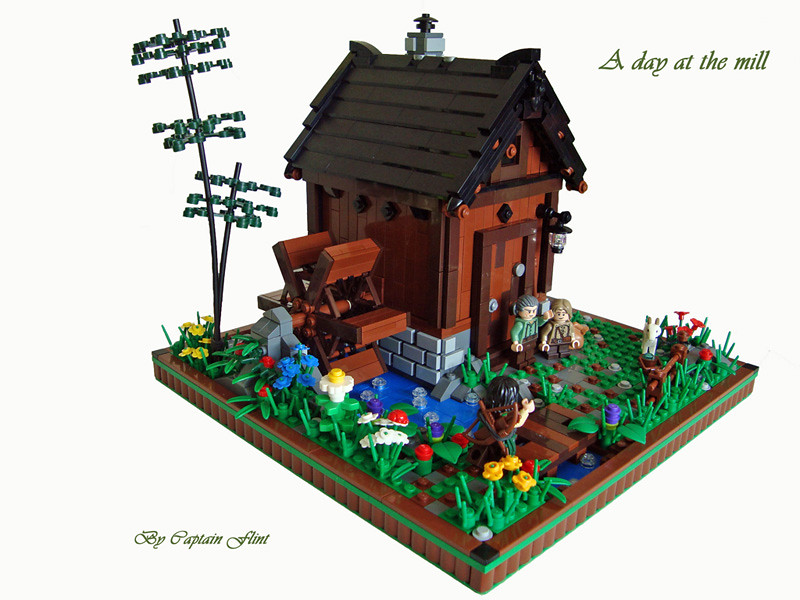
A Day at the Mill

Flickr user Captain Flint has built a beautiful entry to the CCCX.

The bright, cheery, simplistic style of this MOC is refreshingly unique in a contest full of massive entries. 
See it on Flickr. 

Monday, November 26, 2012

Falworth Fir Tree Tutorial

Okay, This post will show you how to make the "Falworth Fir Tree."  


To start, You will need a stable platform for building.


For the base of the tree I'm going to use a palm tree base and two palm tree trunk pieces.


Although two 2x2 round bricks will do the trick nicely, too. :)


For the "trunk" or main part of the tree I use a long "flex tube" or "rigid hose" (found here on bricklink).


Attach the rod to your base, as shown.


No we can start to add the branches of the tree, For the first layer I used a combo of one large palm leaf with one small palm leaf attached on top, as shown.


I slid it down the trunk of the tree to the very bottom, just above the base. 


Next I'm adding another palm leaf pair and placing it on the trunk as well, just slightly to the left.


Then, I'll add another pair, (Yes, you will need lots of pairs! ;)


And I'll keep adding until I've made a whole circle. 


And we want the tree to be nice and bushy so, we'll add a few more pairs... 


...Until you have about two layers on the base of the tree. 


Okay, next we'll create a new combo, this one is exactly like the first except both leaves are small. 


So I'll begin adding some of the new combos where we left off.


I added a whole layer of the smaller pairs.


All right! Next we'll one medium sized palm leaf on top of another one.


 then we'll attach it to the trunk.


...And add another one.


I stop doing the doubles at the third one.


From here I attach them one by one.


Try to keep them evenly spaced, so the tree doesn't have any gaps.  


More and more...


Continue to add palm leaves...


Heh heh.. 


I usually add leaves until I get six studs from the top. 


Then I'll add a 1x1 round brick on the inside, and a "bamboo" piece on the outside of the top of each palm leaf. (On the top of the tree.) 


I also add 1 "bamboo" piece on top of each 1x1 round.


Next I'll slide a 2x2 round plate down the trunk.

 Notice I've removed one bamboo piece from one of the branches to make a more level place for the 2x2 round plate.


Then I'll add a few bamboo pieces to the top and there you have it! :)


This tree technique can be done in any shape or size, I've simply given you the basics with which you can make your own variations. 

Thanks for taking the time to look at this! If you have any questions, feel free to leave a comment. In fact, leave a comment if you like the tree. :)