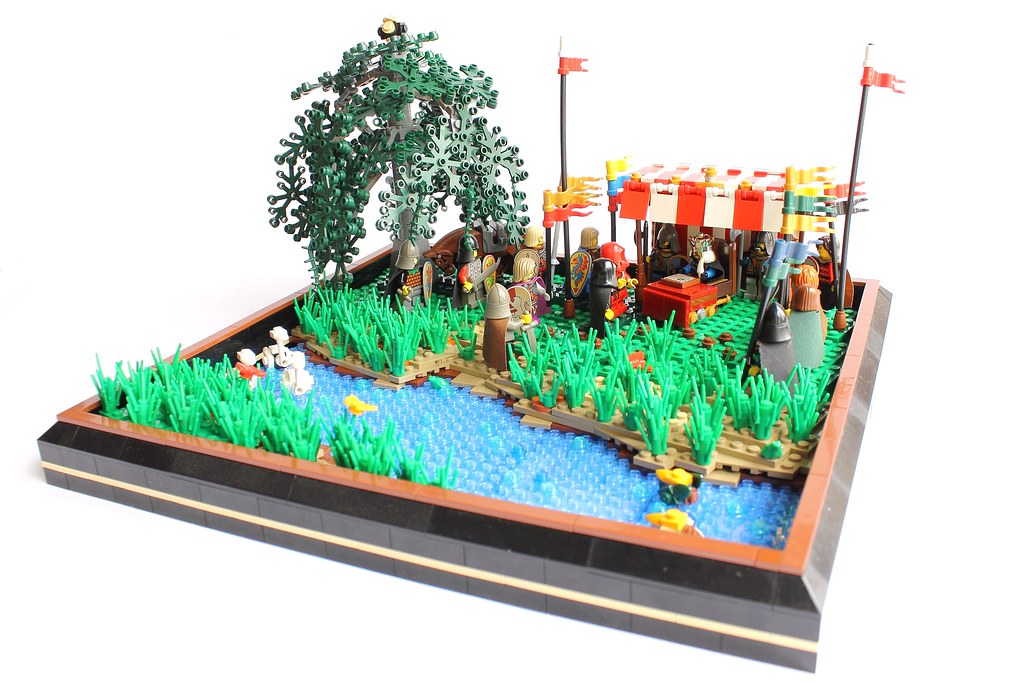
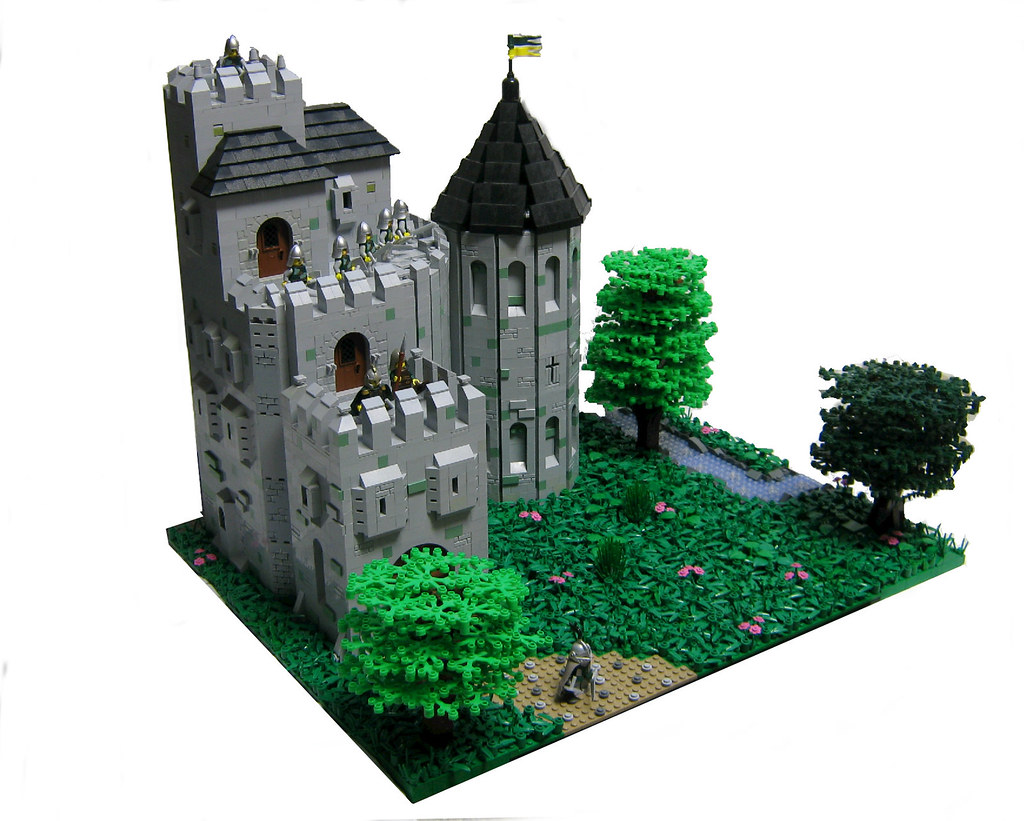
Today, this post will show you how to create a "Post Oak" tree Design.
To start, we'll need a stable platform for building.
(I ended up making it bigger to accommodate a bigger tree.)
The Post Oak tree consists mainly of 1x2 bricks with a hinge on each end.
So I'll start with a 1x1 brick with studs on all sides. (It doesn't have to have studs on all sides, just one stud on one side is necessary.)
This will give us a base for the first part of the tree.
I'll continue to add hinge bricks till I have a shape like an "S" or even a "?"
you just need the end of each branch to point down. :)
Then, I'll gather some clip pieces and some some modified plates
As shown below..
Then I'll attach them in a three piece combination like so..
You will want to make several of these combos
They will be the connection between the tree trunk and the leaves.
you will want to attach at least one of the three piece combos to each arm of the tree, although two is ideal.
As you can see I've created three "S" curves on the tree. (only the bottom curve is necessary.) (I've added two more to make it bigger.)
I've also expanded the base to keep it from falling. ;)
Okay, we added the clip combos.
So now we're ready for the leaves! :)
The clips and the modified plate give the leaf pieces a great shape.
Continue to add plant pieces to the tree...
A little bit at a time...
And Voila! You have a Post Oak tree!
This tree technique can be done in any shape or size, I've simply given you the basics with which you can make your own variations.
Thanks for viewing! If you have any questions leave a comment and I'll get back to you ASAP. :)